Hyrule Map: Detonando! The Legend of Zelda: A Link to the Past - Parte 1: Introdução
Por um escritor misterioso
Descrição

Hyrule Map: Detonando! The Legend of Zelda: A Link to the Past - Parte 1: Introdução

SNES – The Legend of Zelda: A Link to the Past – Análise / Detonado parte 1
Detonado de Bolso – Legend of Zelda – A Link to the Past (SNES) – Parte 13 – Misery Mire

Hyrule Map: Detonando! The Legend of Zelda: A Link to the Past - Parte 3: O Palácio do Leste

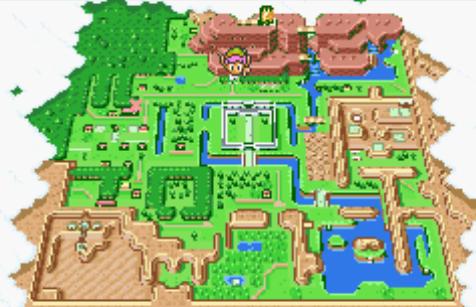
Hyrule Map - Zelda - a link to the past Legend of zelda, Zelda map, Cross stitch
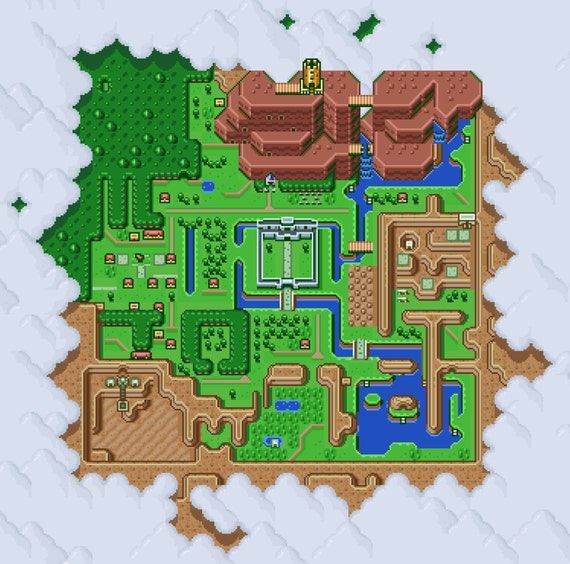
Legend of Zelda: A Link to the Past Map of Hyrule 12 X

Hyrule Map: Detonando! The Legend of Zelda: A Link to the Past - Parte 5: Sobrevivendo ao Palácio do Deserto
Zelda: A Link to the Past - #12 (Final) - Rei do Mal

The Legend of Zelda: A Link to the Past - Dark World e o Palácio das Trevas (Detonado - Parte 5)
Hyrule Map: Detonando! The Legend of Zelda: A Link to the Past - Parte 2: À procura do ancião
de
por adulto (o preço varia de acordo com o tamanho do grupo)