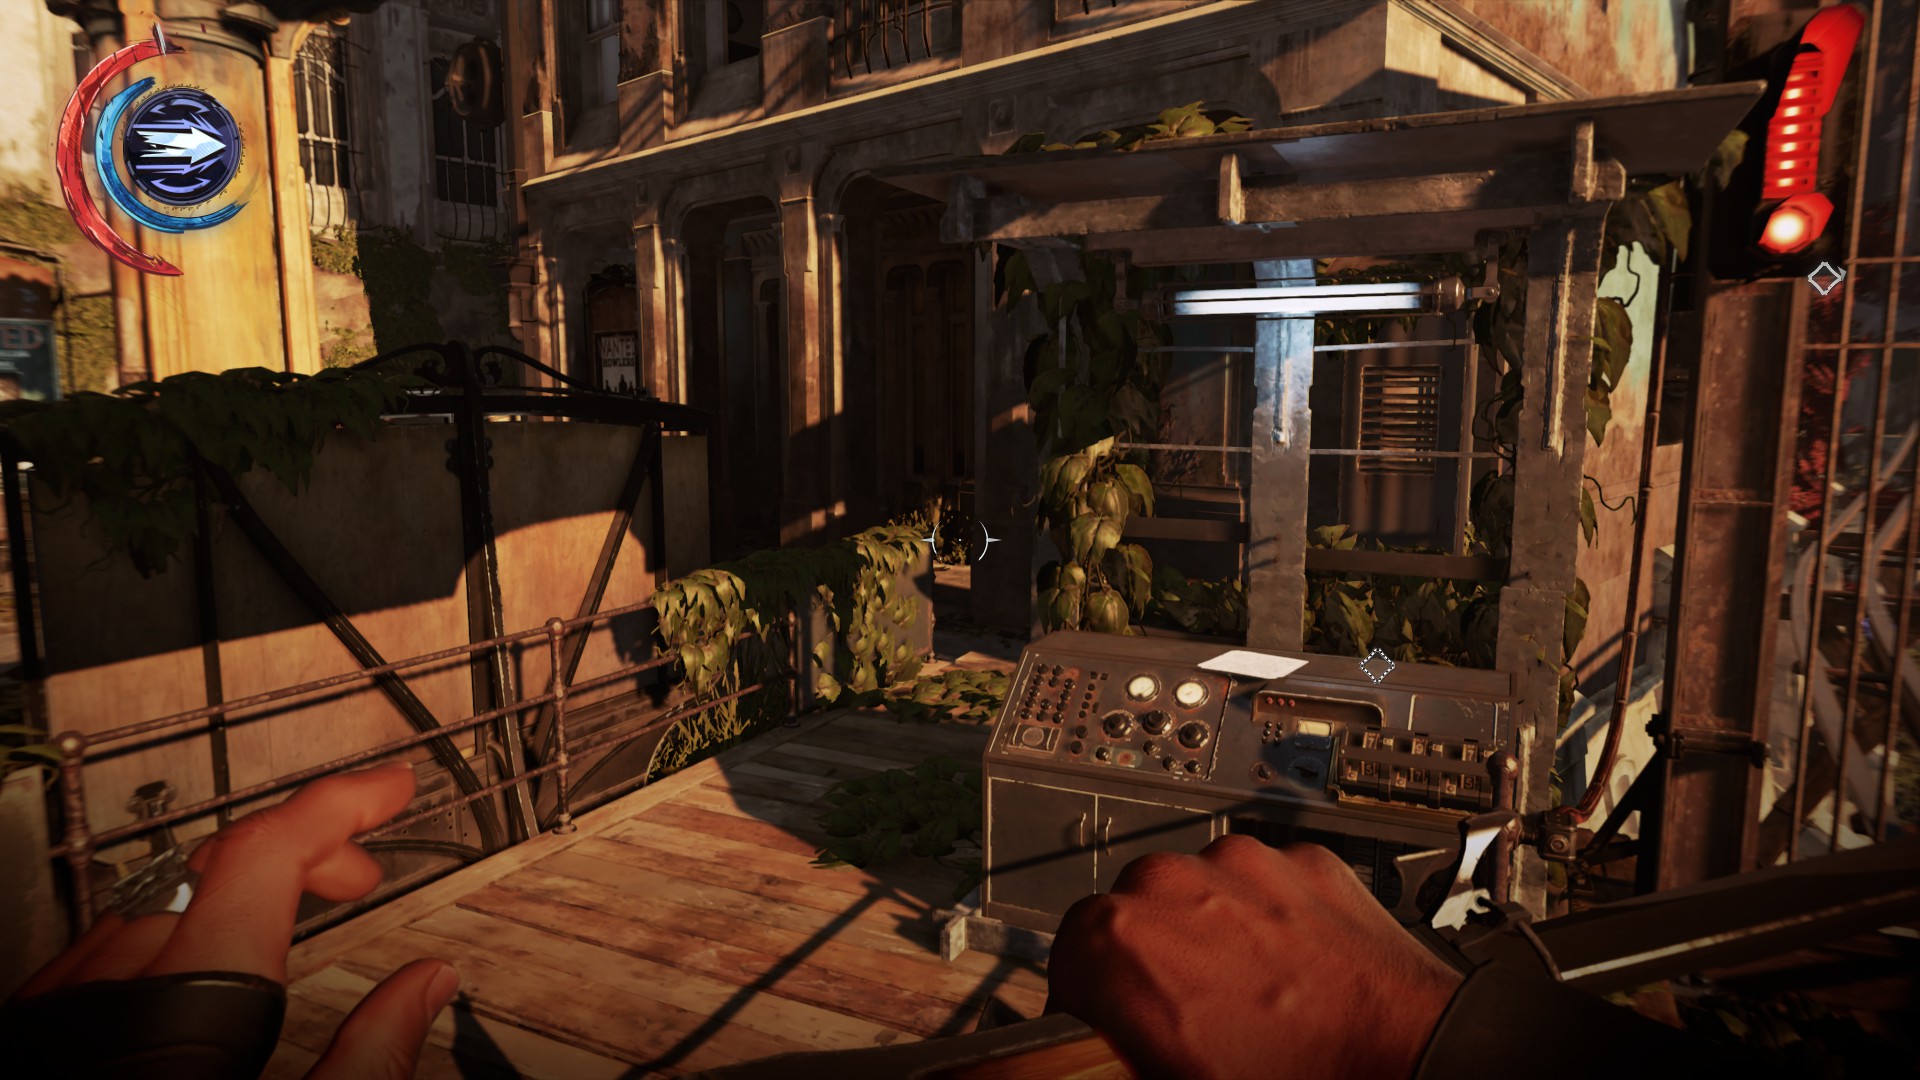
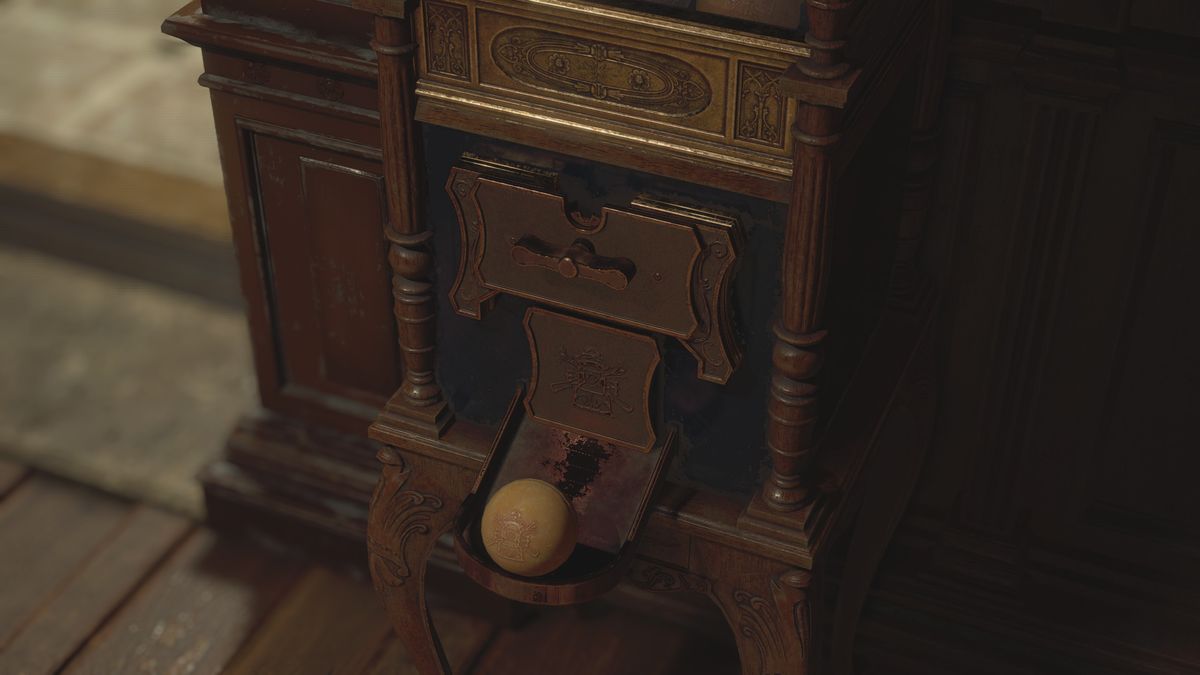
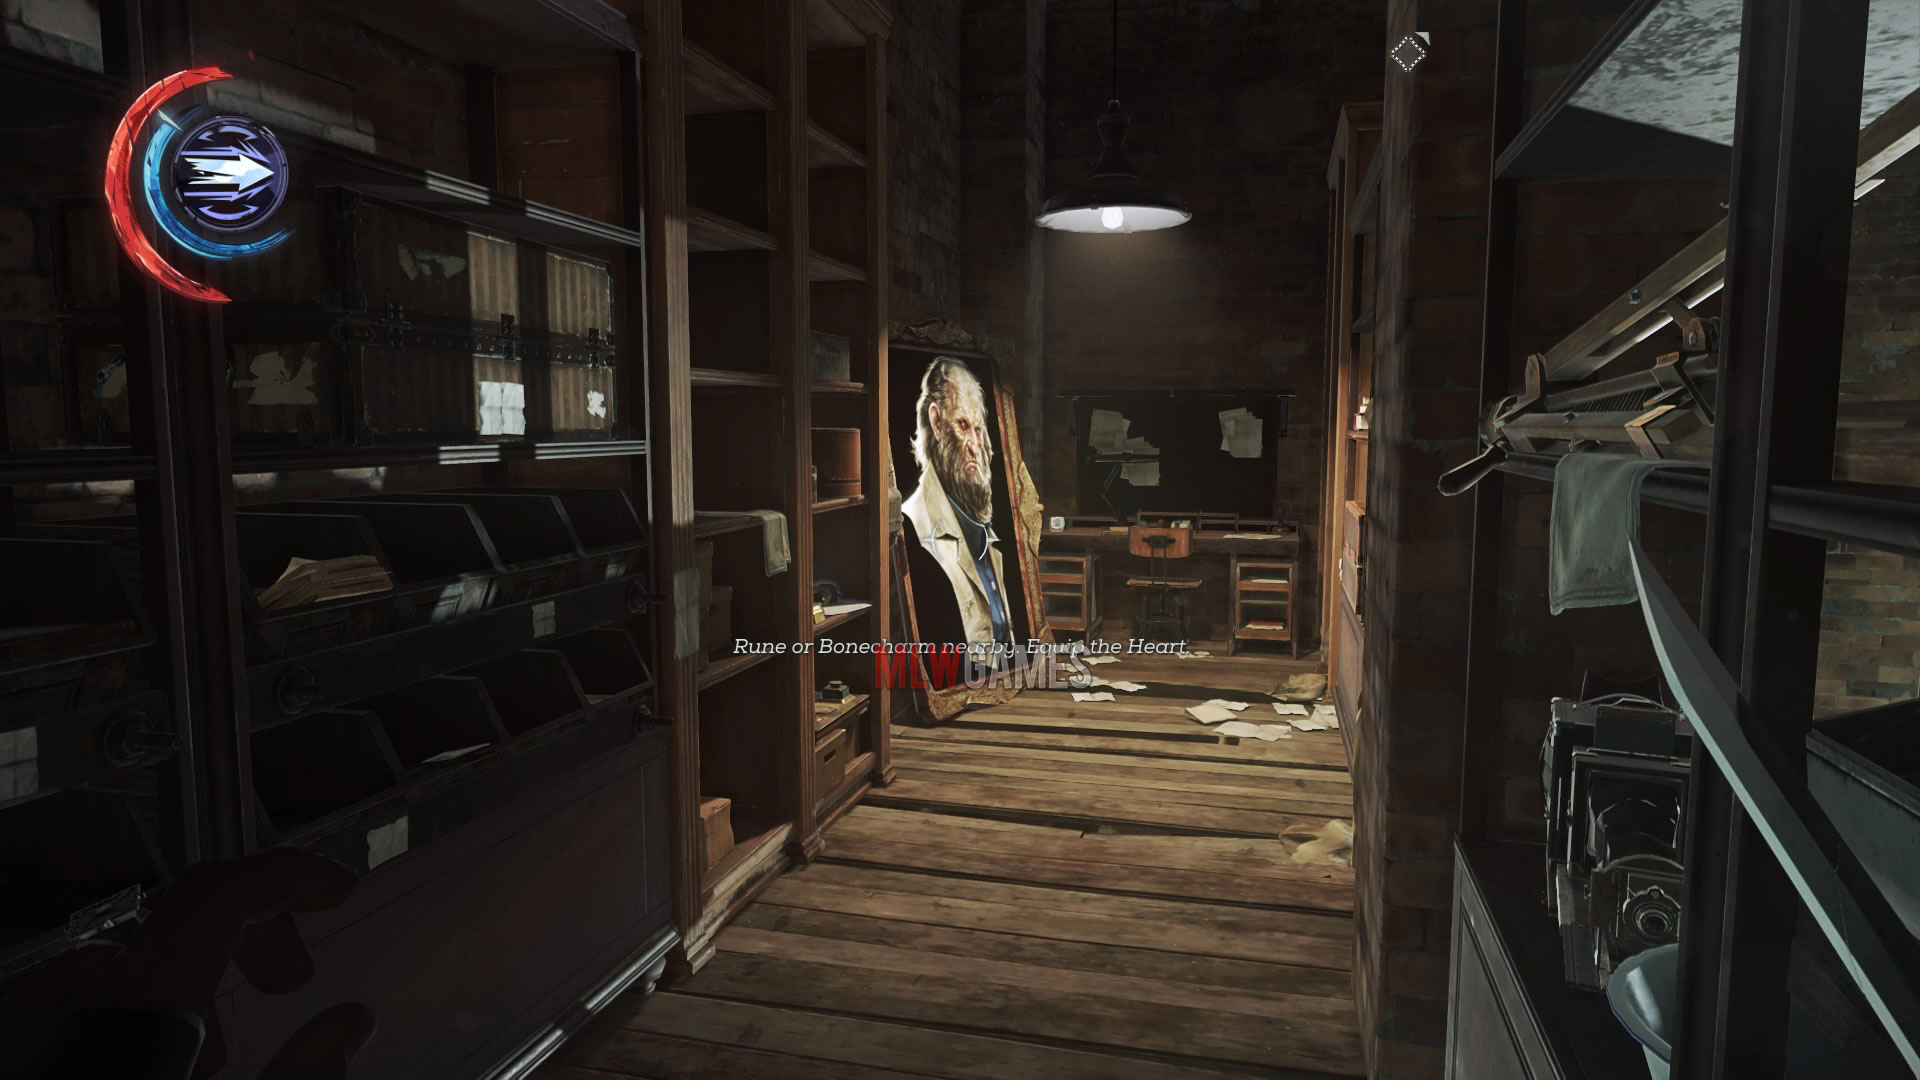
Dishonored 2 Mission 4 - Safe Combination
Por um escritor misterioso
Descrição
/cdn.vox-cdn.com/uploads/chorus_image/image/52205049/00201_Dishonored_2.0.jpeg)
Dishonored 2 walkthrough level 4: The Clockwork Mansion - Polygon
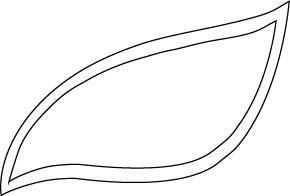
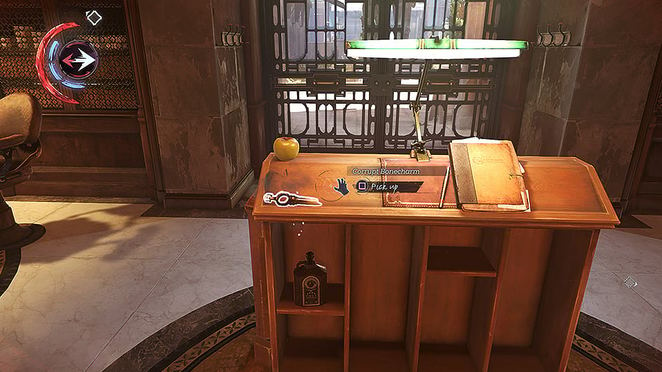
The Good Doctor: Paintings locations and safes

Dishonored 2 tips and tricks to make you a master of revenge
Dishonored 2 Update – Custom Difficulty and Mission Select

Safe Combinations - Dishonored 2 Guide - IGN
Dishonored 2 Guide/Walkthrough - Part IV - Loose Ends and Hypatia's Apartment
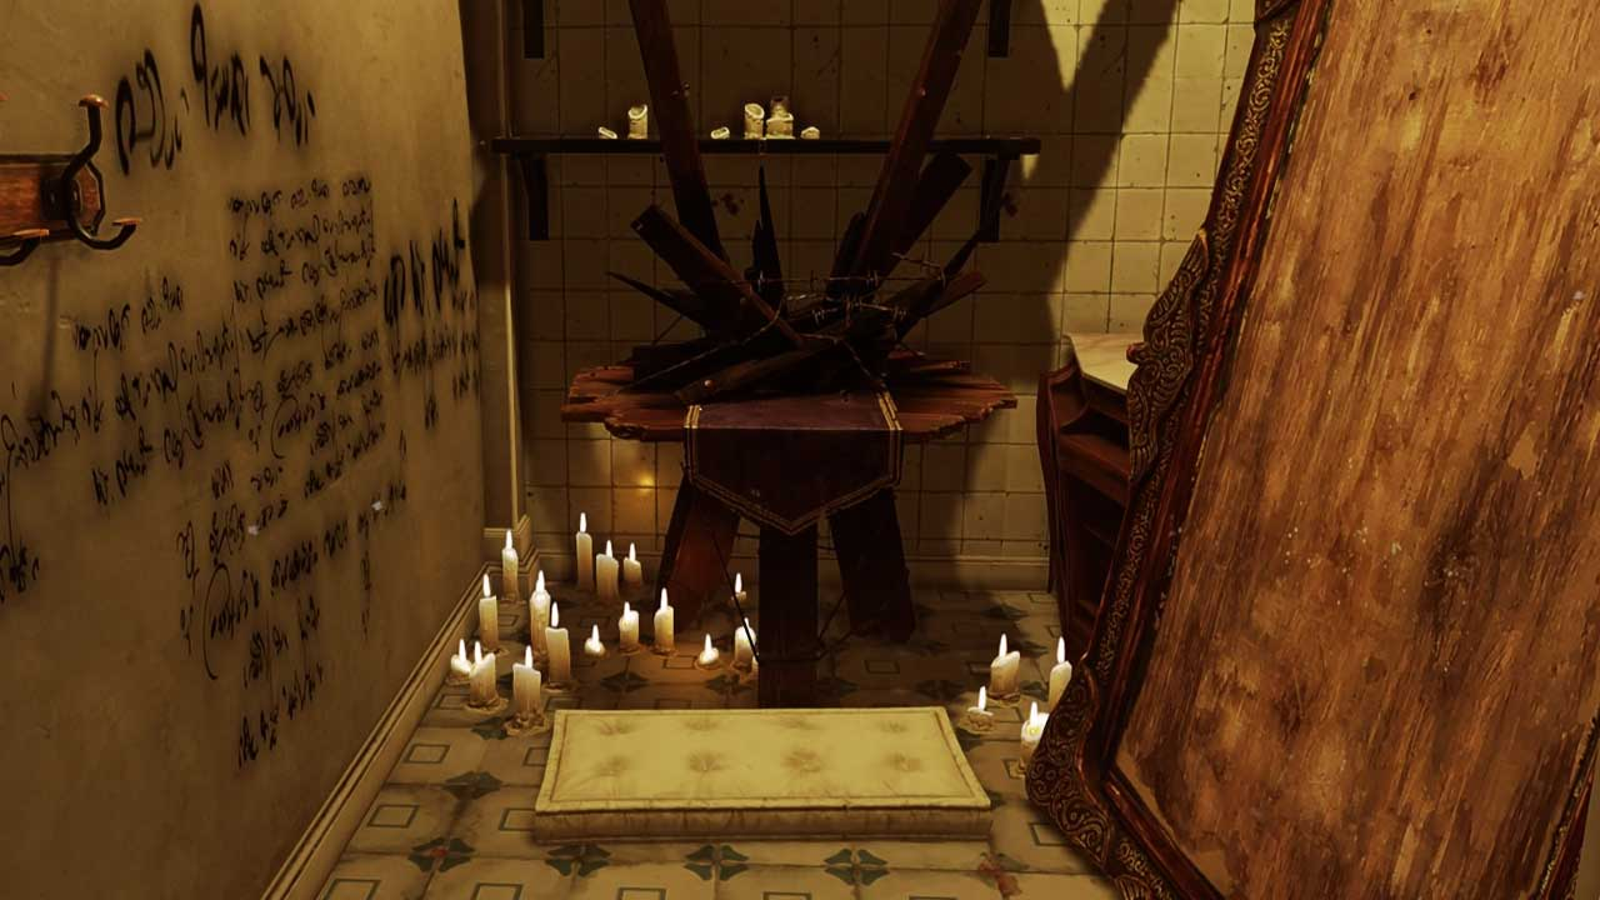
Dishonored: Death of the Outsider - All Safe Code Combinations Guide
Collectibles: Mission 2 - Follow the Ink - Dishonored: Death of the Outsider Walkthrough - Neoseeker
The Good Doctor: Paintings locations and safes
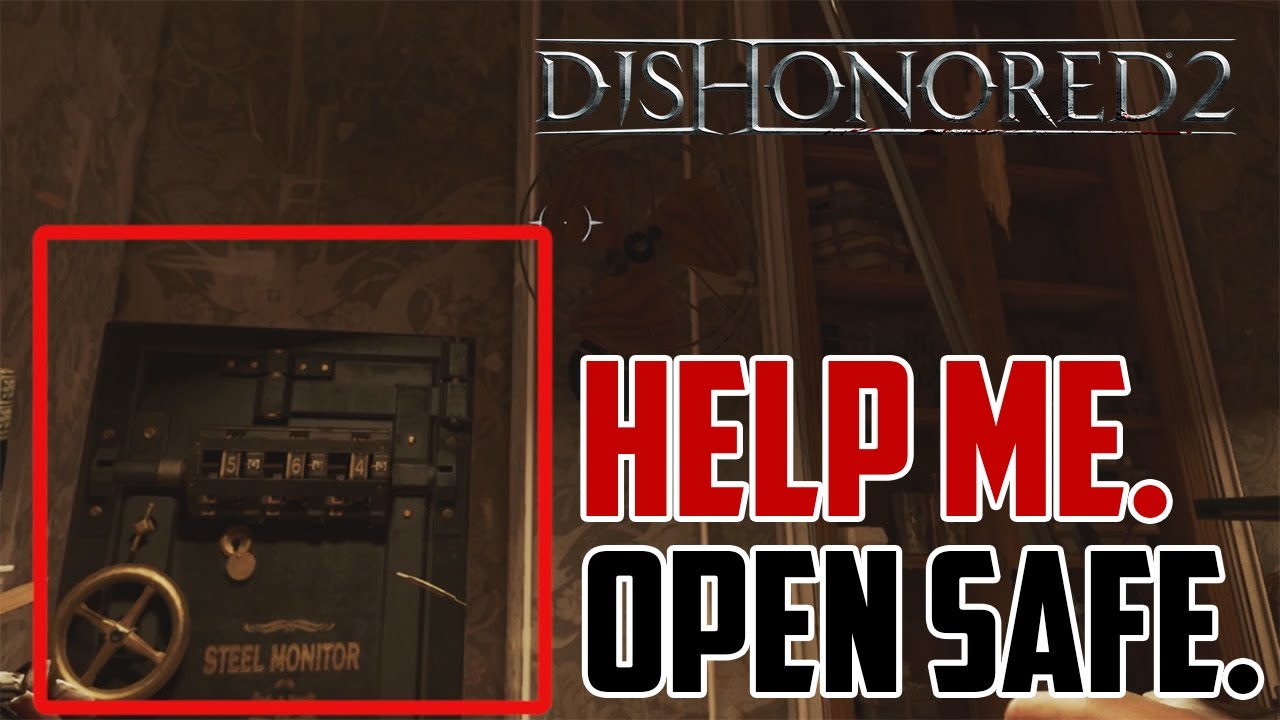
Dishonored 2 : Where to find Lower Aventa Safe Code (Mission 4)
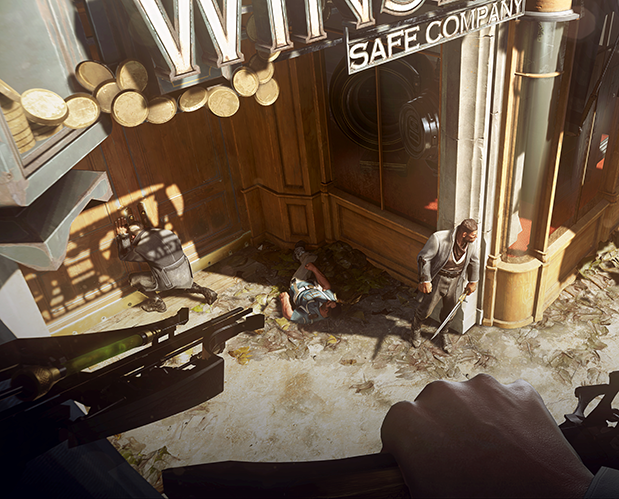
Dishonored 2 Guide/Walkthrough - Part III - The Wall of Light and the Overseer's Outpost
de
por adulto (o preço varia de acordo com o tamanho do grupo)