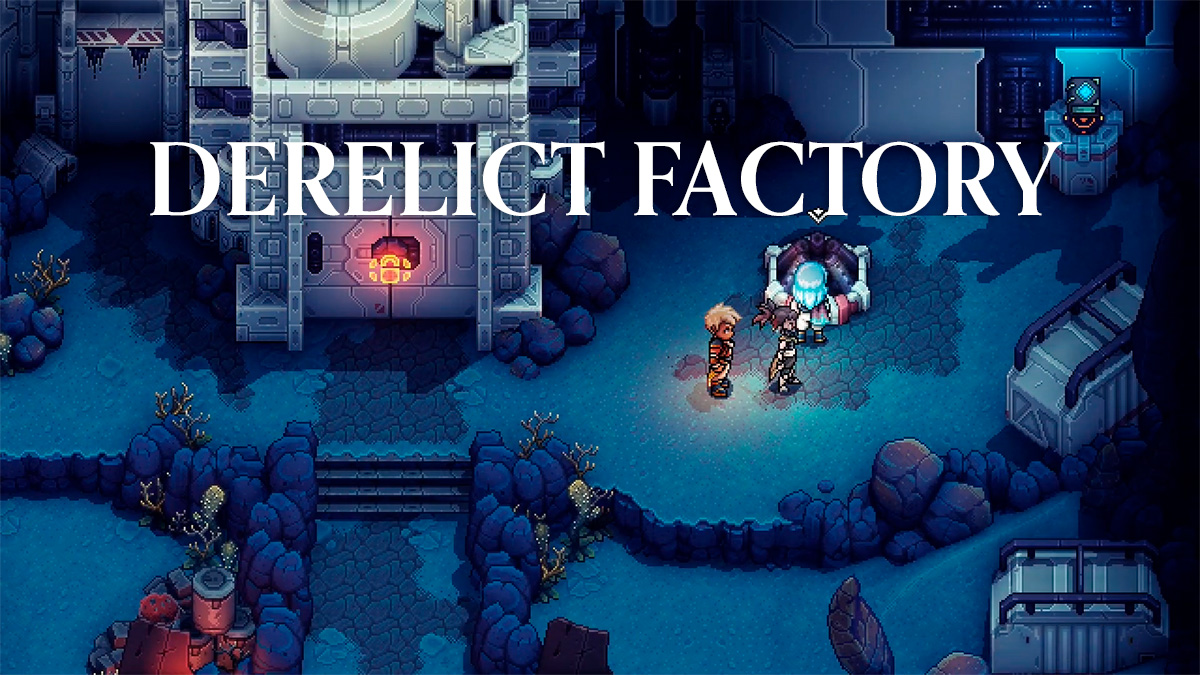
Sea of Stars Guide: Derelict Factory Walkthrough & All Puzzle Solutions
Por um escritor misterioso
Descrição
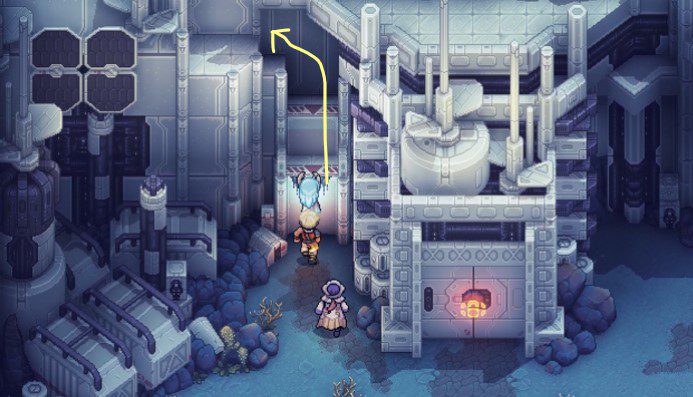
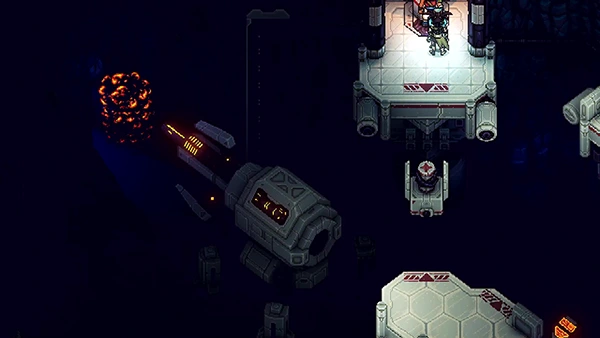
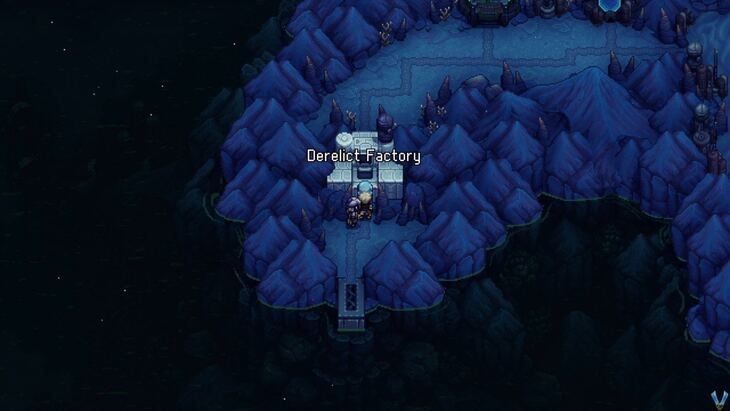
Sea of Stars Guide - Derelict Factory Mission List (Tap to jump down the page!) The Sea of Stars Derelict Factory Activating the Crane Left Room Right
Hide and Seek Side Quest Walkthrough - Sea of Stars

The Sea of Stars and the Derelict Factory - Sea of Stars Guide - IGN
Sea of Stars - Derelict Factory Walkthrough - Neoseeker
Sea of Stars Rainbow Conch Guide, All Locations and Uses
Sea of Stars Guide: Derelict Factory Walkthrough & All Puzzle
Abandoned Wizard's Lab, Sea of Stars Wiki

SEA OF STARS Walkthrough Gameplay Part 22 - DERELICT FACTORY

All Sea of Stars Quiz Answers and Question Pack Locations - Prima
Across The Sea Of Stars - Sea Of Stars Walkthrough - Part 17

Walkthrough - Sea of Stars Guide - IGN
Sea of Stars - The Sea of Stars Walkthrough - Neoseeker
Sea of Stars Rainbow Conch Guide, All Locations and Uses
Sea of Stars Derelict Factory: All Puzzles, Key Items & Chests

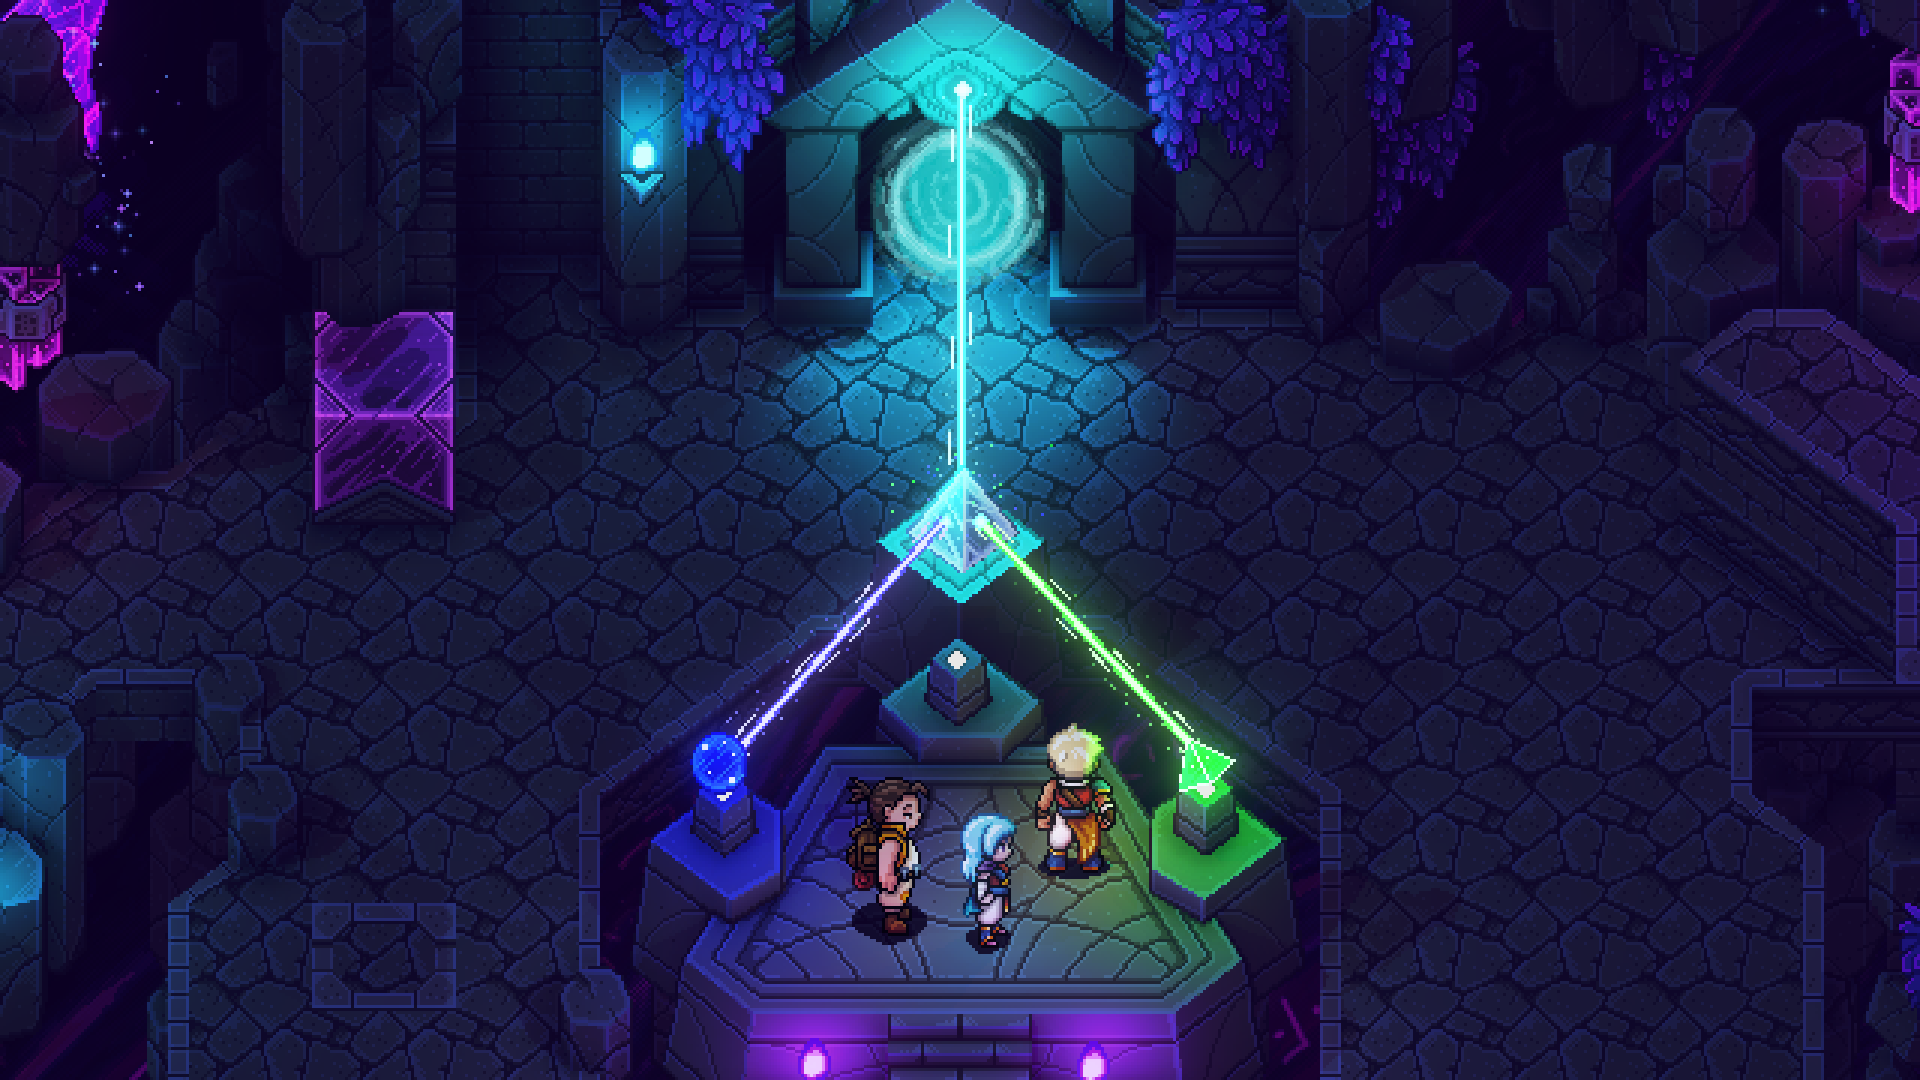
Sea of Stars All Sunken Ruin Puzzle Solutions (Hey, That's a
de
por adulto (o preço varia de acordo com o tamanho do grupo)